
How to Kirkify Images Without Complicated Editing
This guide is for people who want the direct workflow: upload a photo, run the Kirkify AI face transformation, review the result, and download a clean image for posting or saving.
Try the How to Kirkify Images Workflow
Use the live tool first, then follow the guide below to improve photo choice, framing, and final output quality.
how to kirkify images Transformation Engine
Upload a photo and create a how to kirkify images result with Kirkify's AI face transformation workspace.
Choose Kirkify mode

AI model: codeplugtech/face-swap · Replicate
how to kirkify images Results
Your how to kirkify images AI results will appear here after processing.
Awaiting Kirkification
Select an image to commence the revolutionary transformation

Start with a clear image that gives the AI enough facial detail
The fastest way to Kirkify images is to begin with a photo where the face is visible, evenly lit, and not covered by heavy shadows, sunglasses, or motion blur. A front-facing portrait usually produces the cleanest transformation because the AI can map facial landmarks more accurately. Group photos can also work, but the best results come from images where each person has enough space around the face and the original expression is easy to read.
- Use JPG or PNG uploads with visible faces
- Avoid extreme blur, heavy filters, and cropped foreheads
- Pick photos where the subject is the clear visual focus
Run the transformation, preview it, and only download the best version
After uploading the image, the Kirkify engine detects faces, aligns the chosen face style, and blends skin tone, pose, lighting, and expression into a single output. Previewing matters because small differences in source images can change the final look. If the first result feels too subtle or too intense, try a second crop or a brighter version of the same photo before sharing it publicly.
Choose a clear portrait or group image.
Upload it to the Kirkify workspace.
Run the AI transformation and inspect the preview.
Download the strongest version and share it where it fits.
Start with a clear image that gives the AI enough facial detail
- Use JPG or PNG uploads with visible faces
- Avoid extreme blur, heavy filters, and cropped foreheads
- Pick photos where the subject is the clear visual focus
Run the transformation, preview it, and only download the best version
- Upload the target image
- Use the default Kirkify source or provide your own
- Preview before downloading the final image
This page answers the exact tutorial query behind the keyword
- Tutorial-first copy
- Live tool embedded near the top
- Links to image and photo pages for deeper intent
This page answers the exact tutorial query behind the keyword
People searching how to kirkify images usually do not want a generic landing page. They want instructions, examples, and a tool on the same page. That is why this inner page focuses on the practical sequence from upload to output, while related pages point to photo, image, and meme variants for users who want a more specific result type.
Build this page around the exact phrase how to kirkify images, then support it with screenshots, examples, FAQs, and related links that match the same user intent. That gives searchers a useful destination instead of another generic AI face swap page, and it gives Google a clearer reason to rank this URL for its own keyword.
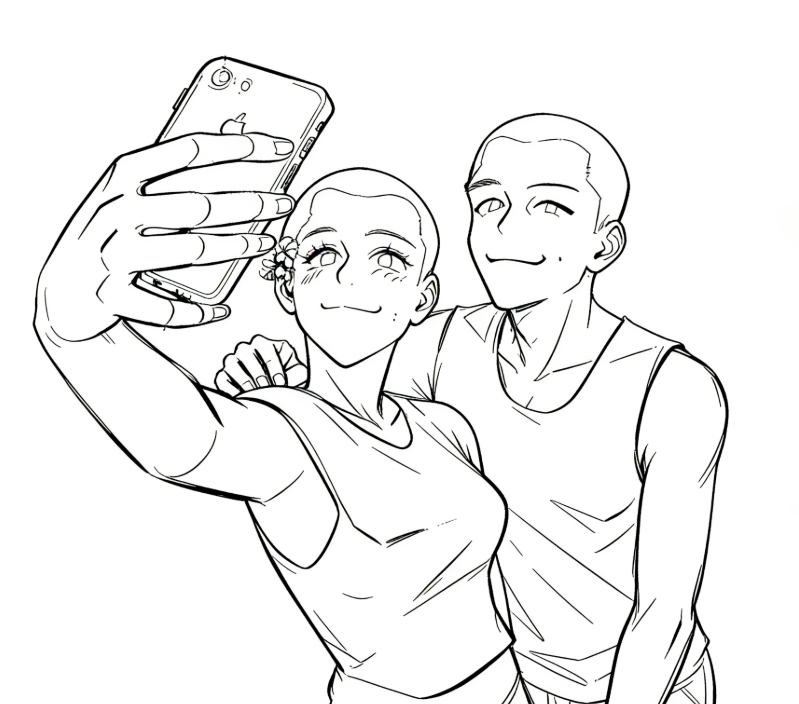
how to kirkify images Example Image Set
These reused Kirkify visuals show the kinds of portraits, selfies, multi-image inputs, and reference-style photos that work well for this keyword cluster.
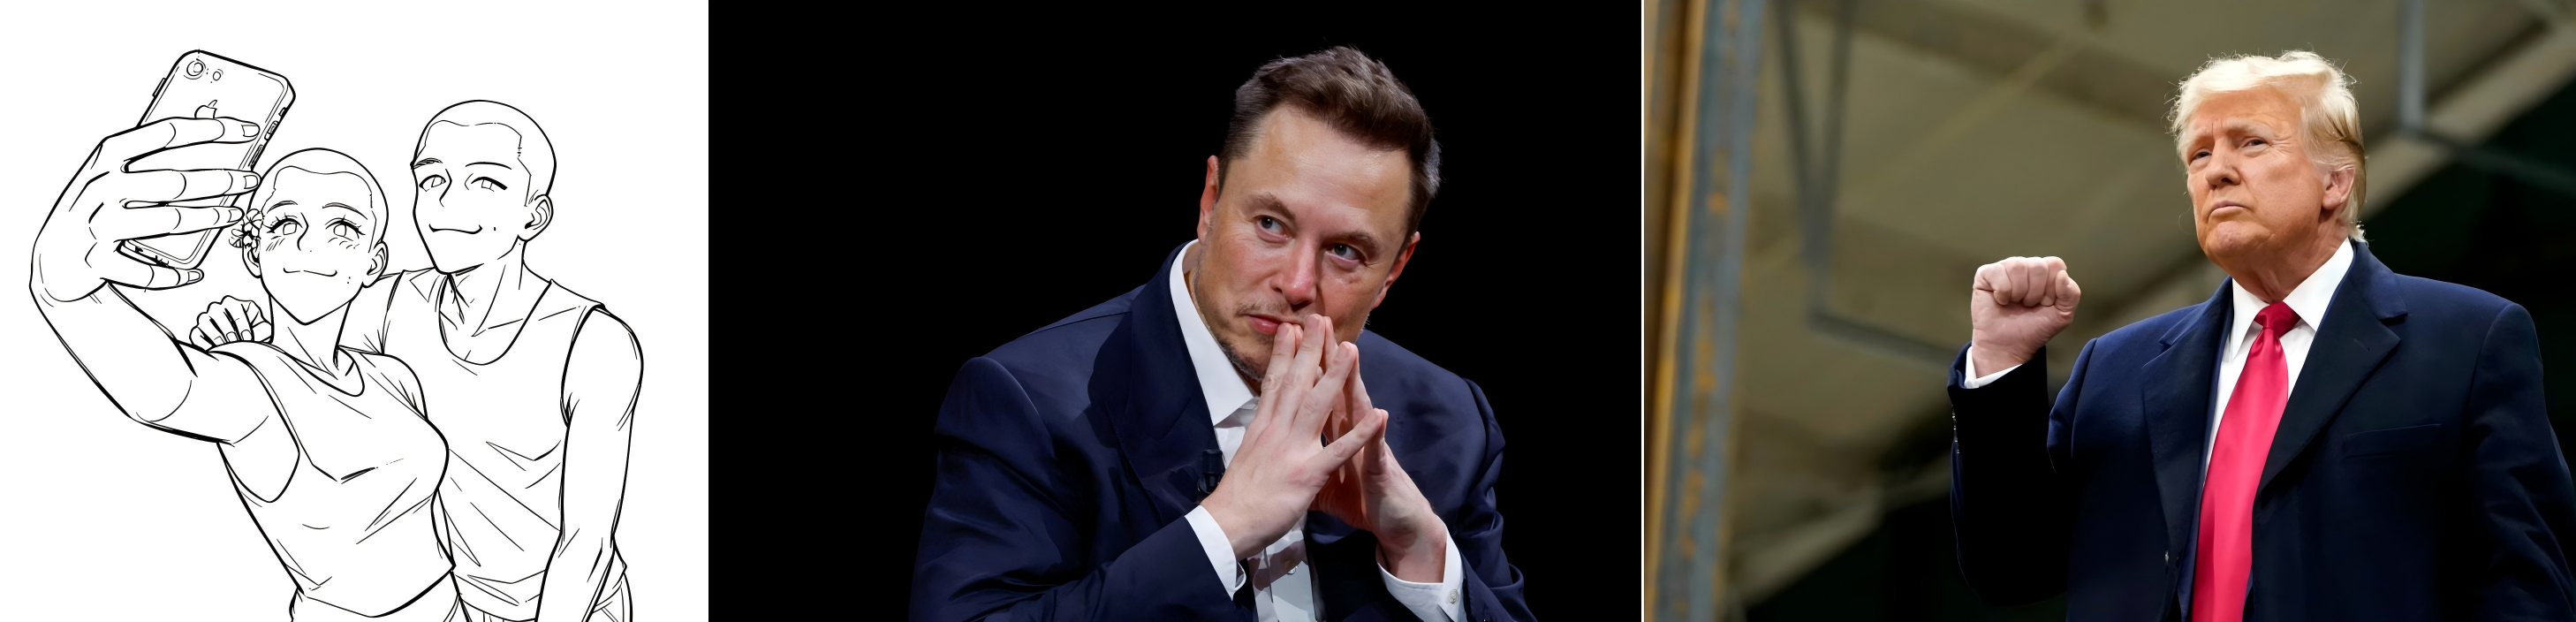
.png)
.png)
FAQ About how to kirkify images
Can I Kirkify more than one face in an image?
Yes, group images can work when faces are visible and not heavily overlapped.
What kind of image works best?
A clear portrait with good lighting and a visible face usually gives the strongest result.
Related Kirkify Tools
Continue through the same keyword cluster with pages that support this search intent.